Ayeka Masaki Jurai
Tenchi Muyo!
Tenchi Muyo!

Tenchi Muyo! was one of the first anime series I watched, and I still love it now! The characters are fantastic and the designs are lively and colourful. As a kid I loved Ryoko, but now as an adult I prefer Ayeka (but really, I love them all)!
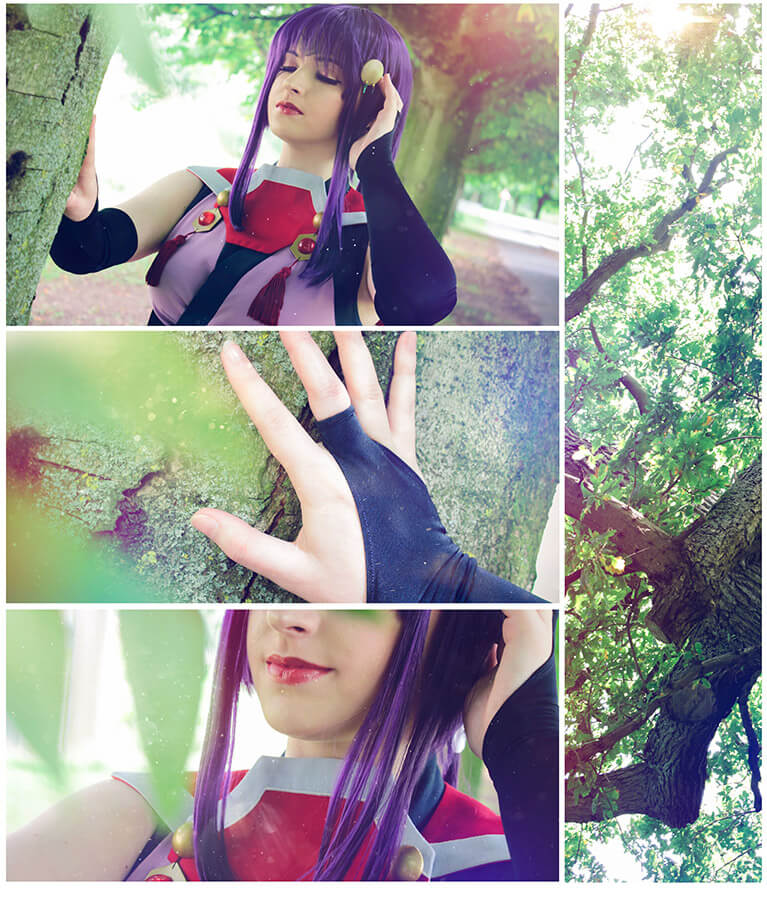
This version of Ayeka is from a music video called “Ojou-sama to Oyobi” (meaning “Call Me Princess”), one of her character songs revealing the “darker side” of her personality. Who knew such a proper princess was a secret dominatrix, huh?
Context aside, it’s easily the nicest design she got – much more flattering than all of those stuffy kimonos. I really love the colours and style of the design, and it’s always fun to see who recognises her at events!
Materials Used:


Construction Notes:
I made this costume quite quickly once ECG was over. I’d wanted to make it for a long time and after being so stressed for so long, it was nice to make something so simple.
The hardest part of this costume was actually finding good reference images! The only versions of the video I could find were tiny (320x240px), and I could barely find any official scans of promo art. Still, I managed to make it somewhat accurate..?
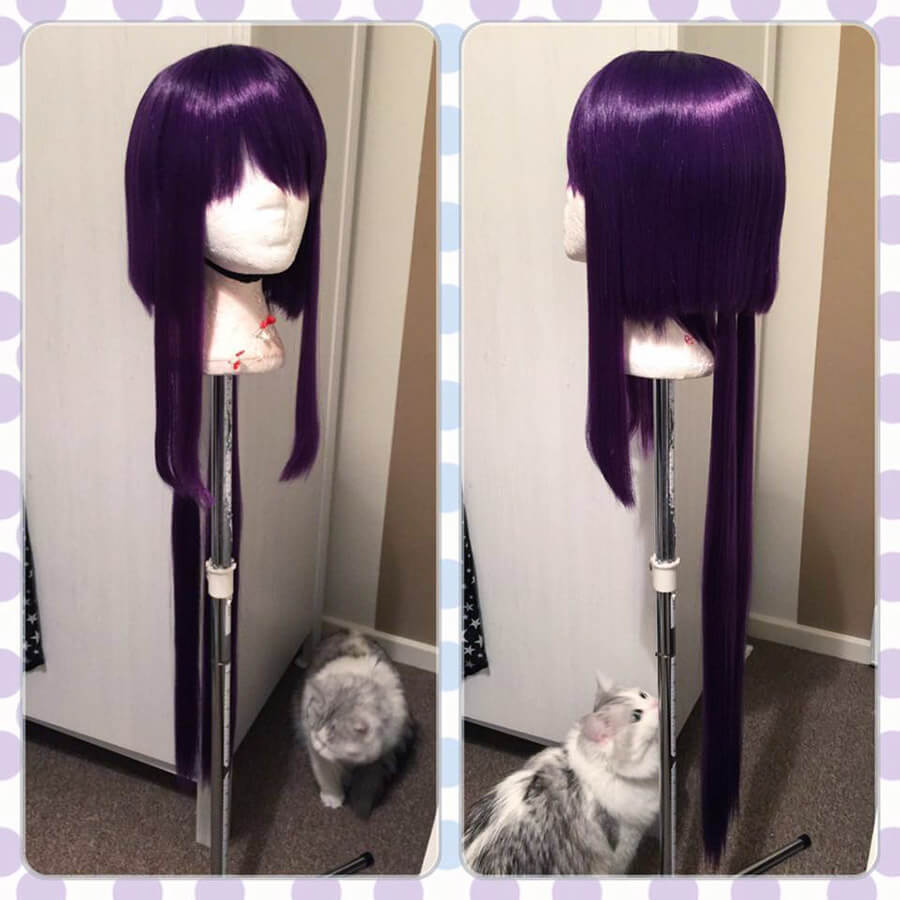
The wig is a Lily & Wefts in Deep Purple from Coscraft which I styled into a cropped bob. Extra wefts were sewn in at the front to frame the face, and at the back to create her ponytails.
The headdress is made from Thibra. It is made up of 3 parts – the tiara itself which sits underneath the wig, then the two decorations that sit on top. The tiara has two prongs that the decorations slide in to when the wig is worn. The decorations are made from large cover buttons. There are two holes drilled in each one, where the beads are attached.
The collar is made from red drill with blue cotton trims, made with an original pattern. The trim is attached with bondaweb and appliqued with a satin stitch to match the design. It is made in two parts, the back panel which sits over the shoulders and then the smaller front chest panel. These attach together with hidden snap fasteners.
The chest panel is finished with gold buttons and hanging decorations. The gold plate is made from Thibra, with red resin gems leftover from Prince Sakura and finished with bought tassels. All of the gold pieces on the costume were spray painted so the colours match.
The yukata is made from an upholstery polycotton – it’s my go-to material for yukatas and kimonos! The navy edge is made from drill. I patterned this from a kimono I already had but shortened it to a more appropriate length.
The black cincher is made from drill with heavy interfacing. This was made from an original pattern, designed to pull in at the waist and taper up and down at the back. It closes up the front with a zipper, hidden by the red sash.
The red sash is made from the same drill as the collar. It is made as two pieces attached at the side with a closure – a flat, fitted red piece underneath, and then the ruched red sash with gold decoration attached on top. The side closes with snap fasteners underneath the bow on the side.
The gloves & socks are made from a lightweight shimmer lycra. The gloves were patterned around my arm with the finger loop attached for a seamless look. For the split toe on the socks, I used a bought pair of tabi socks as a rough pattern.
The shoes are bought – just a nice pair of geta from eBay with red velveteen straps. The fan accessory is a bought fan with white marabou hand sewn to the edge.